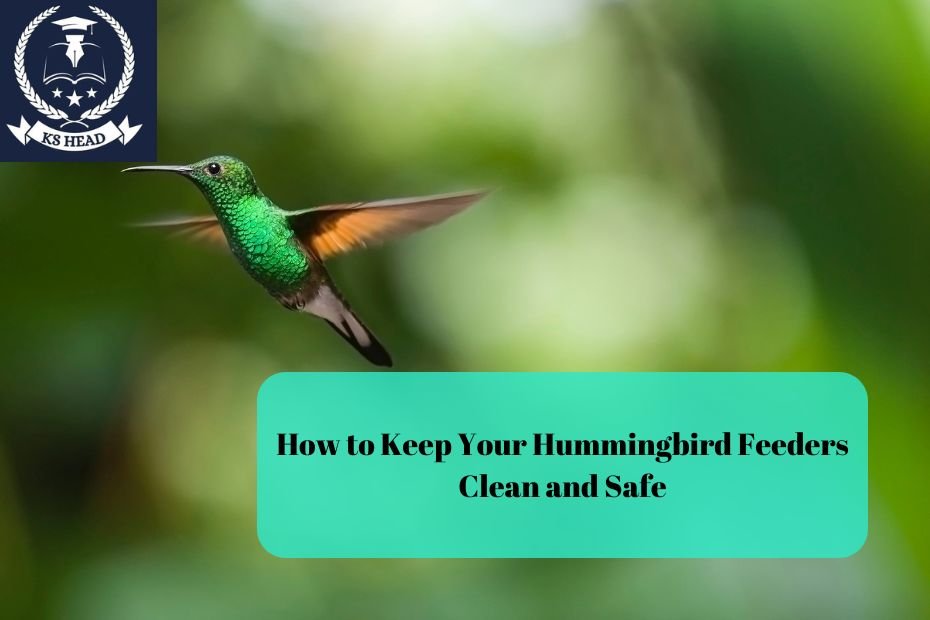
Hummingbirds are delightful visitors to gardens and yards, bringing vibrant colors and mesmerizing flight patterns. To attract these beautiful birds and keep them coming back, it’s essential to provide clean and safe feeders. A dirty feeder can lead to mold growth, fermentation, and disease, which can harm these delicate creatures. This article will guide you on how to maintain your hummingbird feeders effectively, ensuring they remain a safe haven for these feathered friends.
Why Clean Hummingbird Feeders?
Cleaning hummingbird feeders is crucial for several reasons:
- Prevention of Mold and Bacteria: Sugar water can ferment quickly, especially in warm weather, leading to mold growth. Mold spores can be harmful to hummingbirds, causing respiratory issues or even death.
- Elimination of Ants and Insects: Dirty feeders can attract ants, bees, and wasps, which may compete with hummingbirds for food or cause them to avoid the feeder altogether.
- Hygiene for Healthy Birds: Maintaining a clean feeding environment helps ensure that hummingbirds remain healthy and free from diseases that can spread through contaminated food sources.
How Often to Clean Hummingbird Feeders
The frequency of cleaning depends on various factors, including weather conditions and feeder design. Here are some general guidelines:
- In Hot Weather: Clean feeders every 3 to 4 days, as nectar can spoil quickly in high temperatures.
- In Cooler Weather: Clean feeders at least once a week, but more frequently if you notice any signs of mold or sediment.
- After Heavy Rain: Check and clean your feeders after heavy rain, as moisture can dilute the nectar and promote fermentation.
Step-by-Step Guide to Cleaning Hummingbird Feeders
1. Gather Your Supplies
To clean your hummingbird feeders, you will need:
- Mild dish soap (avoid harsh chemicals)
- A soft brush or sponge
- Clean water (preferably filtered or boiled)
- White vinegar or bleach (for disinfecting, if needed)
- A towel or drying rack
2. Disassemble the Feeder
Carefully take apart your hummingbird feeder. Remove any nectar reservoirs, feeding ports, and any other detachable components. This will ensure that you can clean every part thoroughly.
3. Wash with Soapy Water
- Use Warm Water: Rinse the feeder components under warm water to remove any old nectar or debris.
- Apply Soap: Use a small amount of mild dish soap and a soft brush or sponge to scrub all surfaces. Pay special attention to feeding ports, as mold can often accumulate there.
4. Rinse Thoroughly
Rinse all components under running water until all soap residue is gone. It’s important to ensure that no soap remains, as it can be harmful to hummingbirds.
5. Disinfect (if needed)
- Using Vinegar: If there is mold or stubborn residue, soak the components in a solution of one part white vinegar to four parts water for 30 minutes. Rinse thoroughly afterward.
- Using Bleach: Alternatively, a diluted bleach solution (1 part bleach to 10 parts water) can be used. Soak for a few minutes, rinse thoroughly, and ensure all bleach is washed away, as any residue can be toxic to birds.
6. Dry Completely
After rinsing, allow all parts to dry completely. You can use a towel to speed up the process or let them air dry on a clean rack. Ensure the feeder is completely dry to prevent mold growth when you refill it with nectar.
7. Reassemble and Refill
Once the feeder is dry, reassemble it carefully. Fill it with fresh nectar (homemade or store-bought) before placing it back in your garden or yard.
Tips for Maintaining Clean Hummingbird Feeders
- Use a Red Feeder: Hummingbirds are attracted to red colors, but avoid using red dye in nectar, as it can be harmful. Instead, opt for feeders with red accents.
- Place Feeders in the Right Location: Position feeders in a shaded area to slow down fermentation and keep nectar fresher longer.
- Monitor Nectar Levels: Check the nectar levels regularly and refill as needed. Replace any nectar that has been in the feeder for more than a week, even if the birds haven’t consumed it all.
- Remove Debris: Keep the area around your feeders clean, removing any fallen leaves or debris that could attract insects or mold.
- Use Simple Nectar Recipes: When preparing nectar, mix one part sugar with four parts water, and boil to dissolve. Let it cool before filling the feeder.
Conclusion
Maintaining clean and safe hummingbird feeders is essential for attracting these charming birds to your yard while ensuring their health and well-being. By following the simple steps outlined in this guide, you can provide a safe feeding environment that encourages hummingbirds to visit regularly. Enjoy the beauty and grace of these fascinating creatures as they flit around your garden, knowing that you are helping to keep them safe and healthy.
FAQs
1. How do I know if my hummingbird feeder needs cleaning?
Look for signs of mold, residue, or fermentation. If the nectar appears cloudy or has been in the feeder for over a week, it’s time to clean.
2. Can I use food coloring in nectar?
No, avoid using food coloring as it can be harmful to hummingbirds. Instead, choose feeders with red components to attract them.
3. What is the best nectar recipe for hummingbirds?
Mix one part granulated white sugar with four parts water, then boil until dissolved. Allow it to cool before filling the feeder.
4. Why are ants attracted to my hummingbird feeder?
Ants may be drawn to spilled nectar. Consider using ant moats or placing your feeder in a location that is less accessible to ants.
5. How can I keep bees and wasps away from my hummingbird feeder?
To deter bees and wasps, try using a feeder designed to minimize access to feeding ports or consider placing the feeder in a less accessible area.

